The Thanksgiving turkey is the second best thing about Thanksgiving.
What’s the best thing about Thanksgiving? The long awaited gathering of family and friends around the holiday table laden with a cornucopia of food, including that glistening Thanksgiving bird.

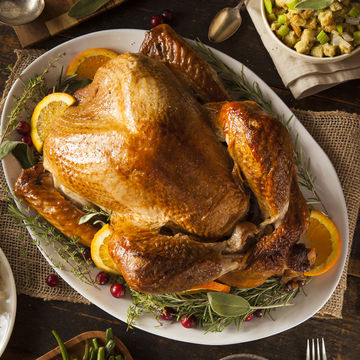
Holiday roasted turkey. Photo credit: Ralphs
There are so many ways to prepare the hallowed bird from roasting it breast side up, stuffing herb butter under the skin, engulfing it in a cooking bag, deep frying to brining.
I’ve always been a big fan of brining, which is a form of marinating the turkey in a salt mixture with various herbs and other ingredients. But it can be quite a painstaking and time consuming production, steeped in mystery and intrigue. The time honored process is not always honored.

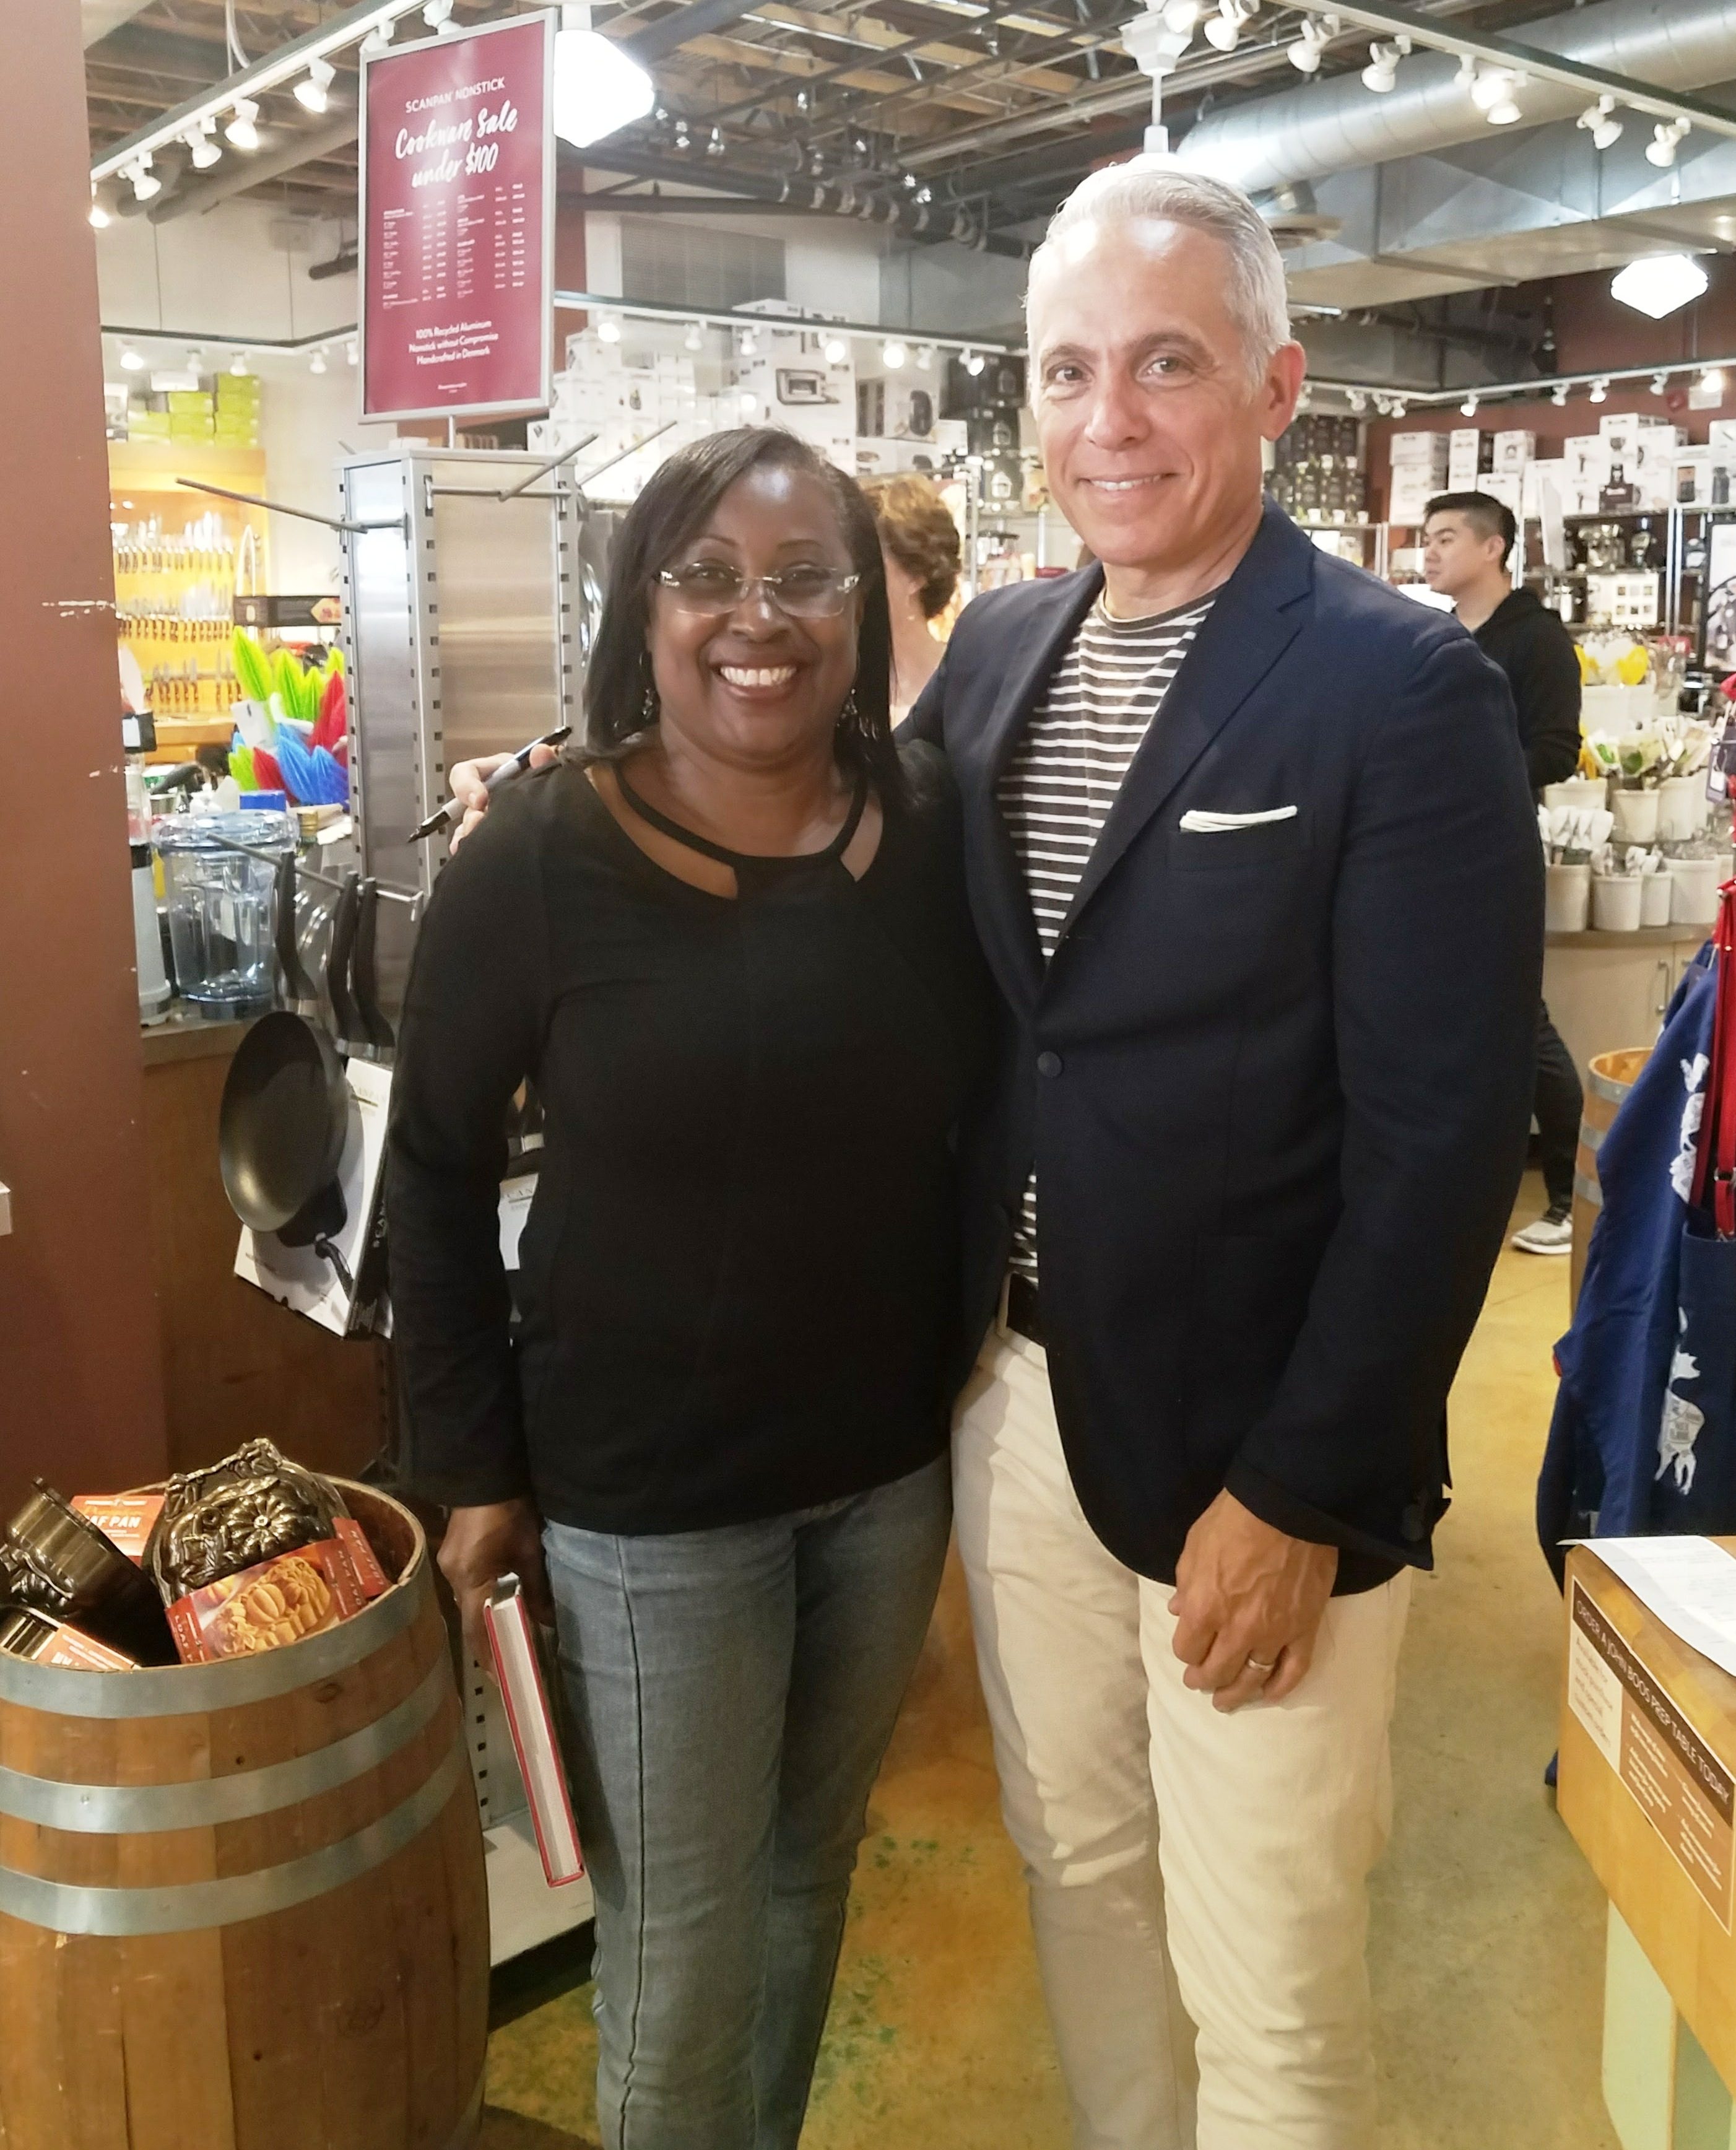
Chef Geoffrey Zakarian and I at Sur La Table during a recent signing of his book: My Perfect Pantry: 150 Easy Recipes from 50 Essential Ingredients
At a recent book signing in Los Angeles with Food Network Star and Iron Chef Geoffrey Zakarian, I asked the question, “to brine or not to brine?”
His answer: not to brine. Chef GZ says he has a few fellow chefs and culinary colleagues that are big briners, but he is not. When it comes to cooking the bird, he keeps it simple and that way he gets simply delicious results.
This year I’ve decided to keep it simple. No brine, no lengthy 12 hour marinating time. But I wanted to make sure that my turkey was moist, flavorful and delicious because after all, I have a culinary reputation to uphold.

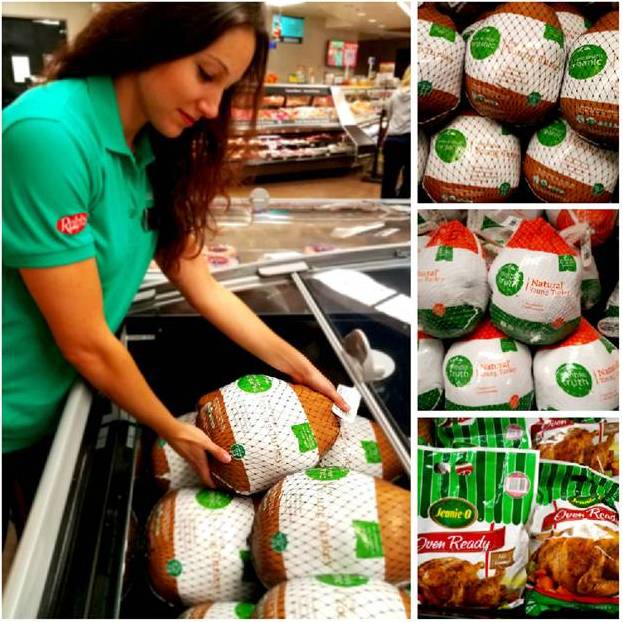
Kristin Livingston, Natural Food Manager, Ralphs, Westwood, CA.
I reached out to the experts at my favorite market Ralphs for a little advice on making an oven roasted, moist and juicy Thanksgiving turkey. They invited me to chat with Kristin Livingston, Natural Food Manager, at their Westwood store near the campus of UCLA. Here’s a mind-bending fact: it’s the busiest store in Southern California and generates $1.4 million in sales a week.

We had a great chat, I asked her lots of questions, and here are a few tips Kristen shared with me during the time we spent together.
What kind of turkey should I buy?
It depends on your budget and preference. There are whole turkey breasts, oven ready turkeys, natural, organic and frozen turkeys. Most frozen turkeys are flash frozen immediately after being butchered and are delicious. Some turkeys have a salt solution injected into them to make them very flavorful. I prefer the free range, certified organic turkeys that are feed healthier fed and free of hormones and antibiotics. I think they are tastier.

There are a variety of turkeys to chose from.
What size turkey should I buy?
A widely used general guideline is one pound of turkey per person. But if you are serving a lot of guests, I recommend preparing two smaller turkeys weighing 12 pounds or less.
What’s the best way to thaw a frozen turkey?
The best way to thaw your turkey is in the refrigerator. A general rule to follow when thawing a turkey is to allow 1 day of thawing for every 4 pounds. Make sure to keep the turkey unopened and thaw it breast side up. It’s best to cook it within 4 days after thawing.
How should I season my turkey?
Here the possibilities are endless. Make sure you wash and pat it dry first. Of course you need to generously salt the outside and cavity of the bird. Adding olive oil, vegetable oil or butter on the surface of the bird before adding the salt will help it brown. There are a lot of traditional turkey seasoning mixes out there, but why not try something different like a Indian or Moroccan spice mix. There are many on the market or you can experiment with making your own.*
Should I stuff my turkey?

So many herbs, so many choices for your Thanksgiving turkey.
Stuffing a turkey is no longer recommended because of health reasons. If the bird is removed from the oven before the stuffing reaches 165°F, some bacteria from the stuffing or from the interior surface of the turkey’s cavity could remain alive in the stuffing. To get the stuffing up to 165°F, you would risk overcooking the breast meat. My recommendation is to cook your dressing or stuffing separately.
But do stuff the cavity of your turkey lot of aromatics like onions, garlic, thyme and rosemary. Those aromatics will cook and the flavors will permeate the turkey. Besides, those pan drippings make the best gravy. Also, many stores stock a poultry bundle that can take the stress out of what herbs to buy. I would suggest trying that.
How long should I roast my turkey in the oven?

I recommend a temperature of 325°F from start to finish. The general cooking guideline for a fully defrosted or fresh bird is about 15 minutes per pound.
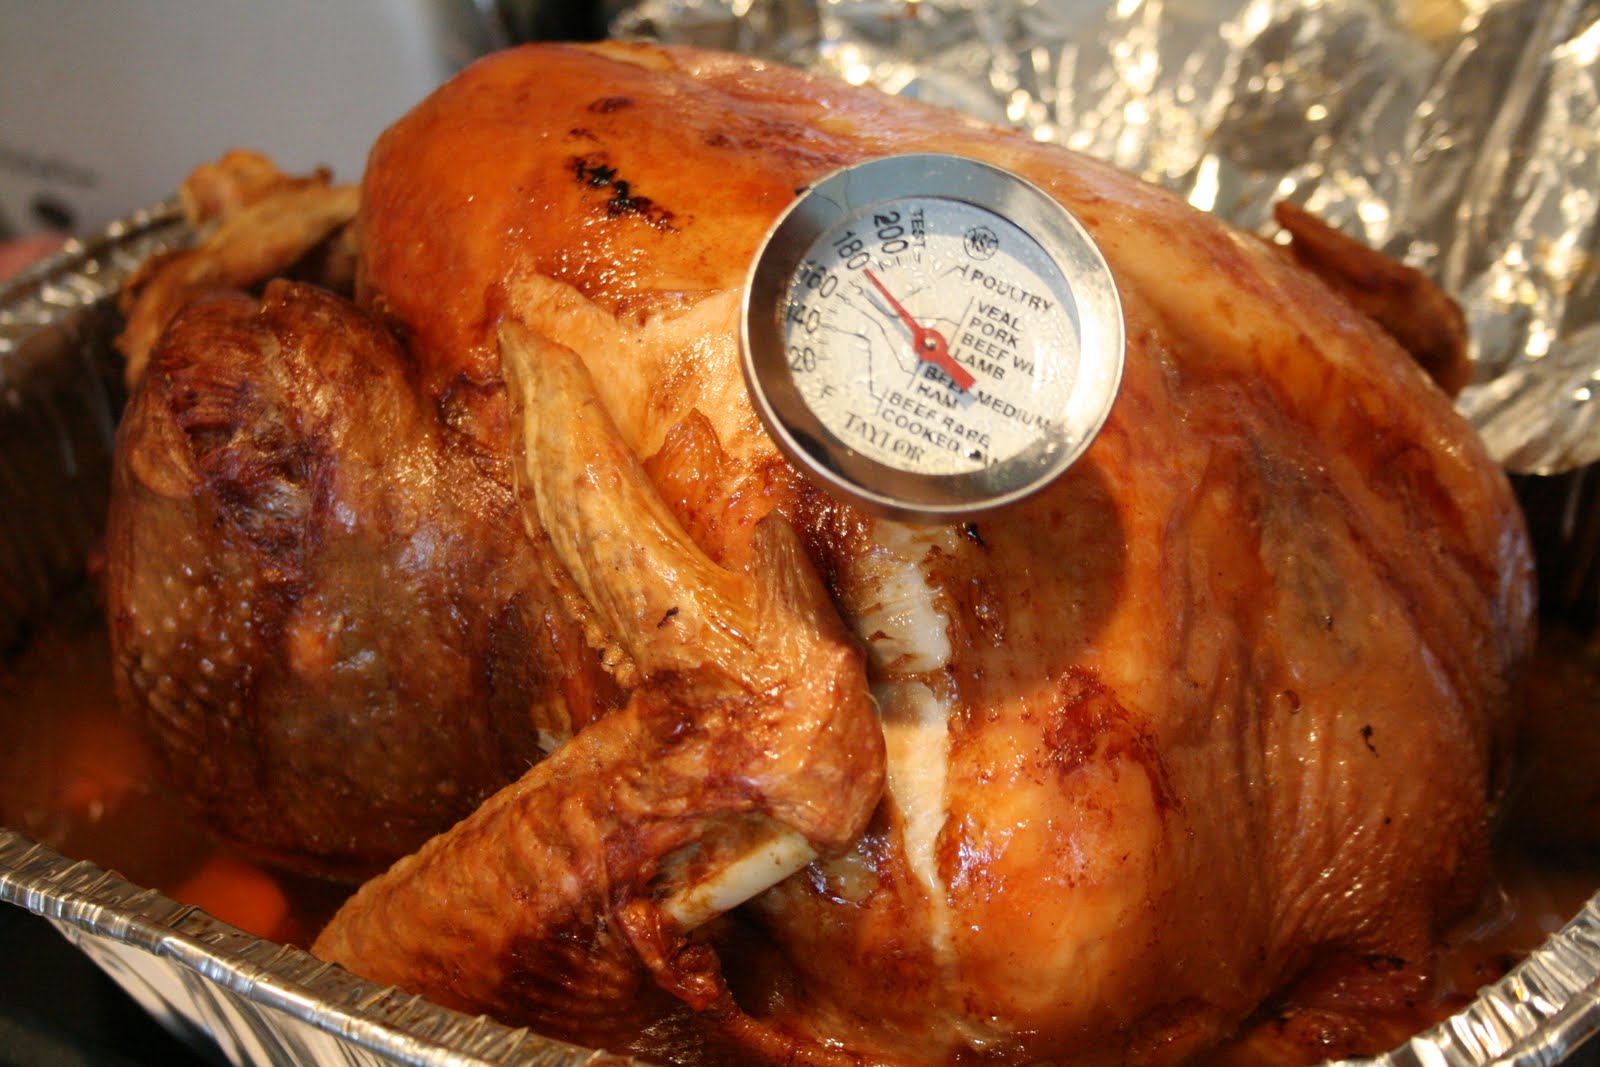
How will I know when the turkey is done?

A temperature of 180°F degrees is what you are looking for.
Your turkey is done when it reaches a temperature of 180°F degrees in the thigh and 170°F degrees in the breast. It’s best to use a meat thermometer to make sure you don’t overcook your turkey. Some turkeys come inserted with a plastic pop up button. But these buttons are set to pop up at 180°F to 185°F degrees and at that temperature, the turkey is overcooked and dry.
How long do I wait before I carve it?
Just like you let a steak rest after cooking so the juices can redistribute throughout the meat, you should let your turkey rest too. About 15 to 20 minutes is best. While its resting, why not use that time and make a gravy out of the those flavorful pan drippings.
Should I carve the turkey at table or not?

Turkey breasts removed and sliced for serving.
I love the presentation of a beautiful turkey at the table. Yet carving takes time. You can carve and plate the turkey right before serving to make it more convenient. The best way to do this is to:
- Remove the legs and thighs and cut through the bone that connects them.
- Remove the wings and separate them at the joints.
- Remove the wishbone and cut away to remove both breasts.
- Slice the thigh meat.
- Slice the breast meat, cutting it at an angle against the grain.
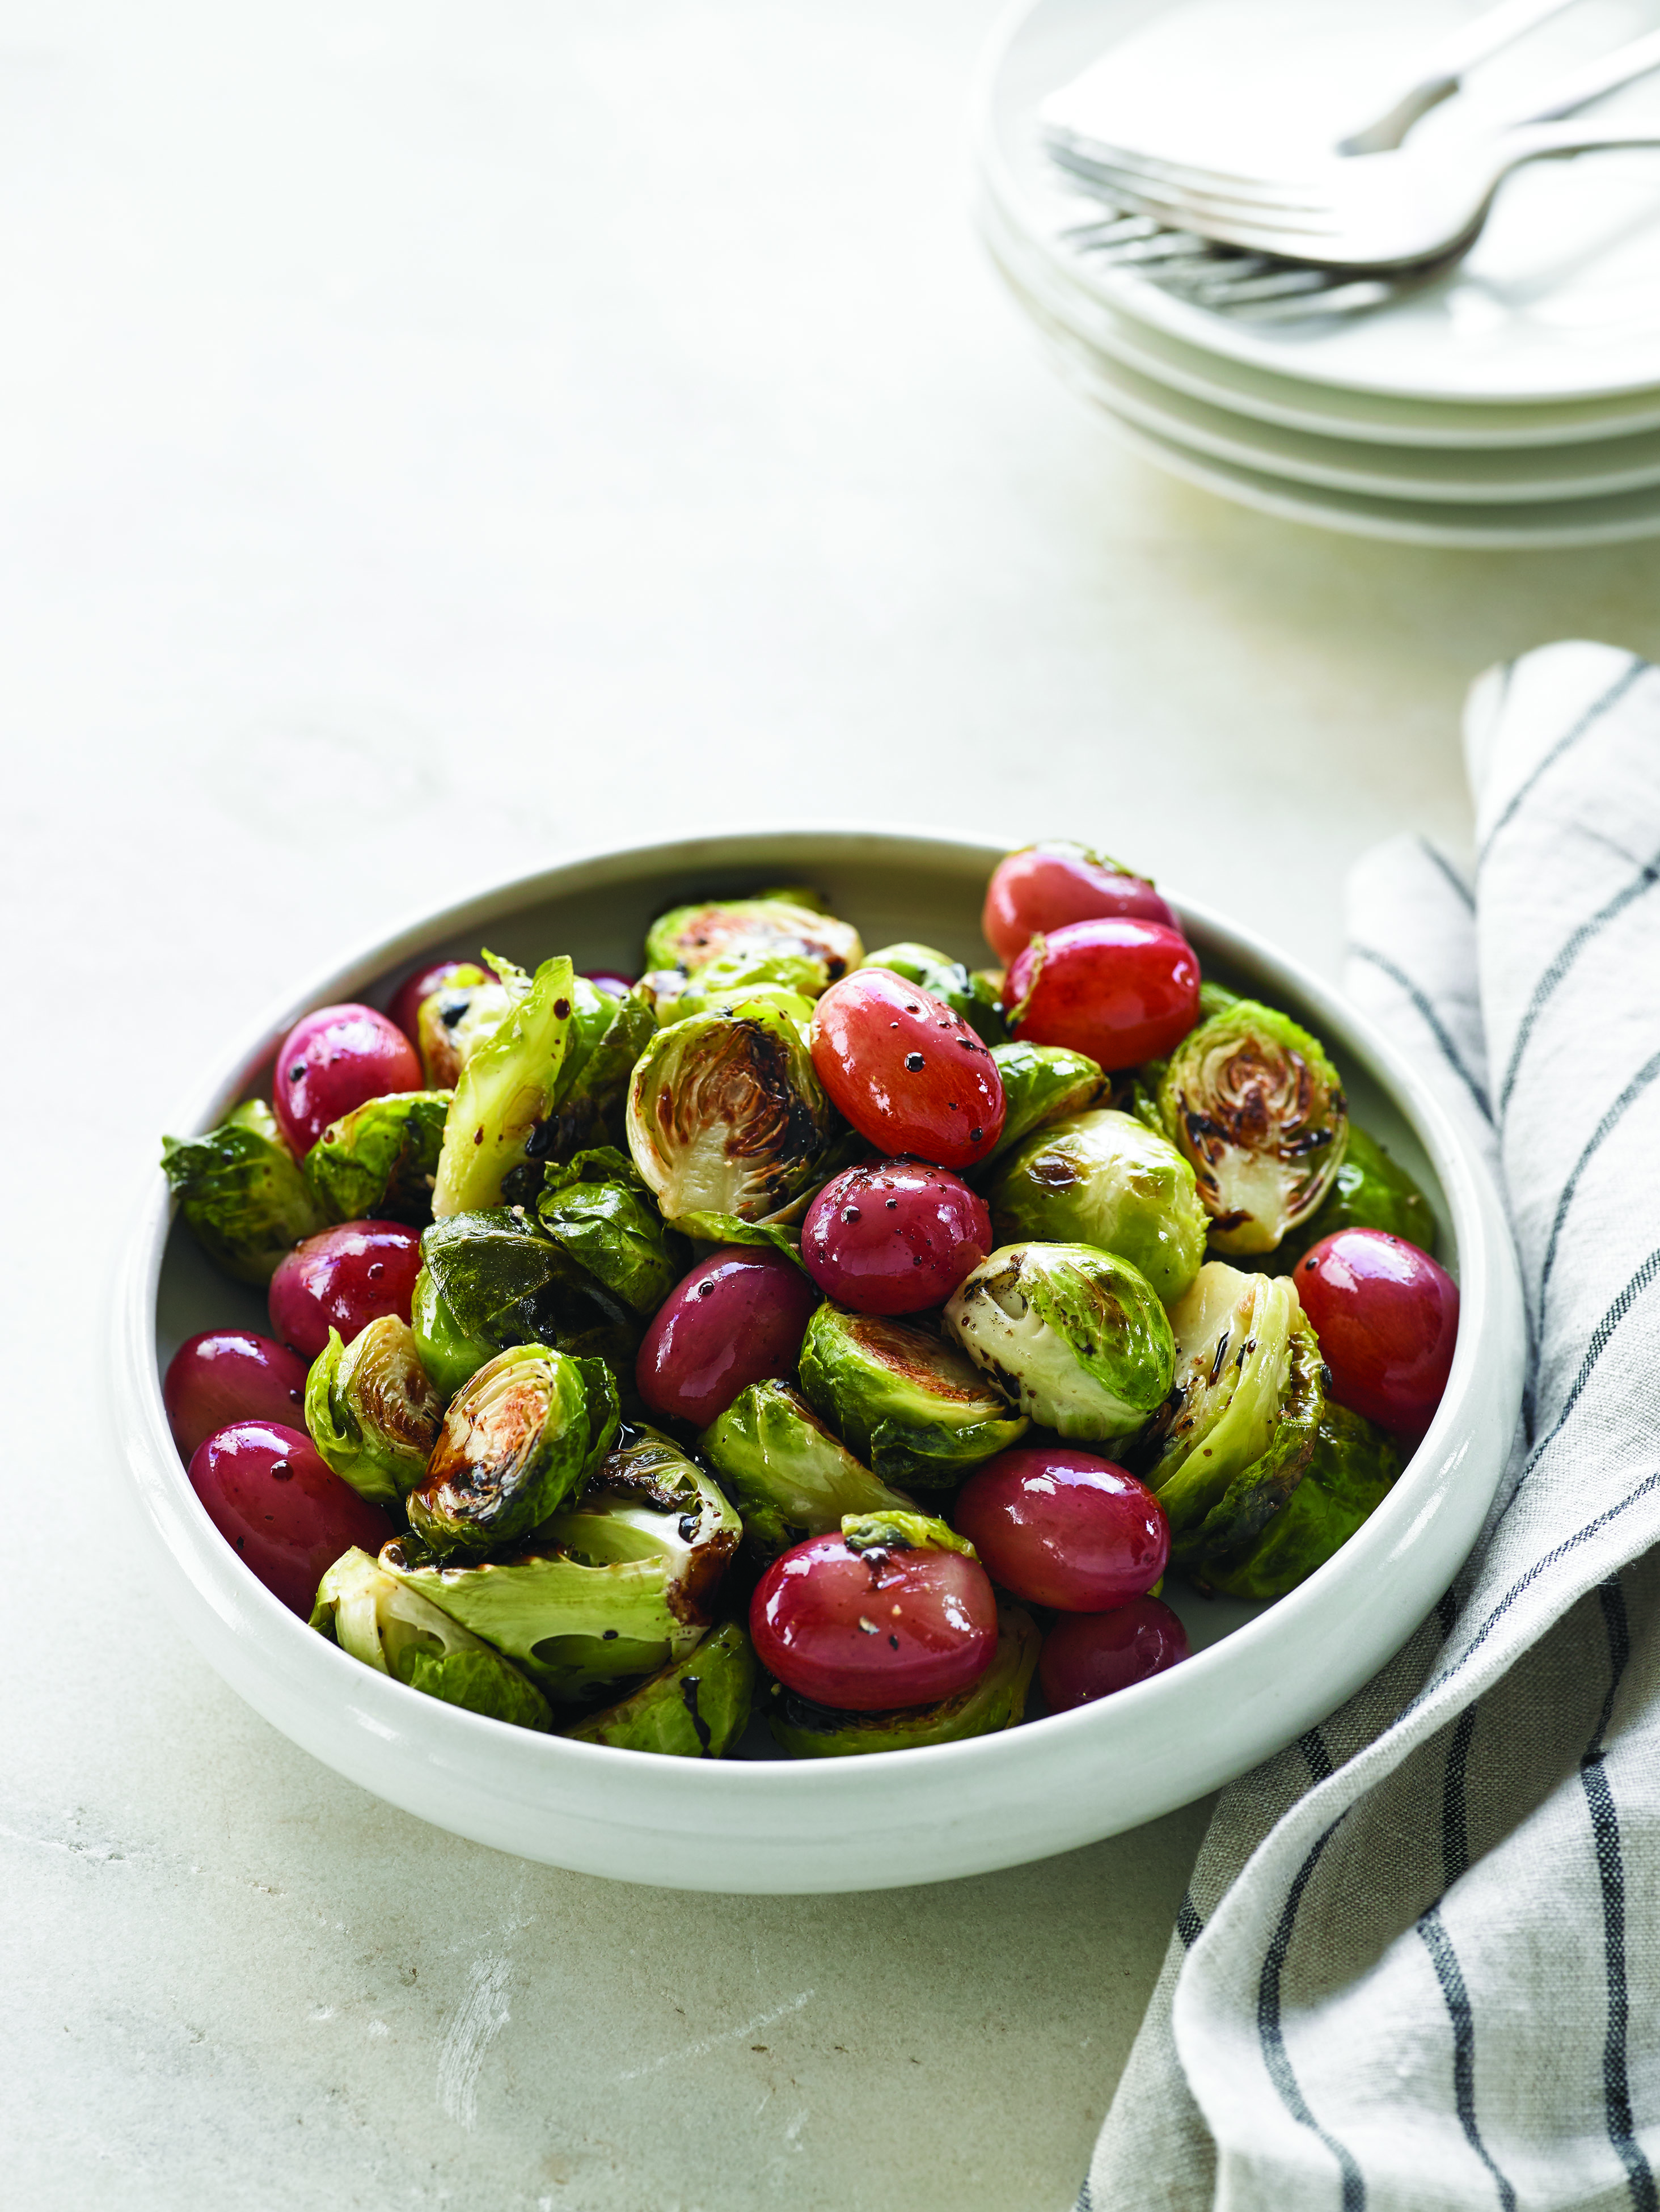
- Arrange the turkey pieces and slices on a serving platter with fresh herbs and roasted vegetables for a great presentation.
My tip if you need more help

Since 1981 the folks at Butterball Turkey have staffed a Turkey Talk Line with food experts who can help answer any turkey question you might have. You can call them at 1-800-BUTTERBALL (800)288-8372 or visit their site at http://www.butterball.com/contact-us for information on their hours of operation and how you can chat, text or communicate with them about all your turkey questions via social media.
Time to make that turkey
*I like Kristin’s suggestion to make your own Indian or Moroccan inspired turkey seasoning. Here’s an easy mix I created you might want to give a try. Feel free to tweak this rustic blend and add additional ingredients if you like. Double the recipe if you think you many need more seasoning mix. I recommend you rub the surface of the turkey with olive oil before you season your bird. In a bowl whisk together:
1 tablespoon sea salt
1 teaspoon garlic powder
1 teaspoon ground thyme
1 teaspoon turmeric
1/2 teaspoon paprika
½ teaspoon cumin
½ teaspoon sugar
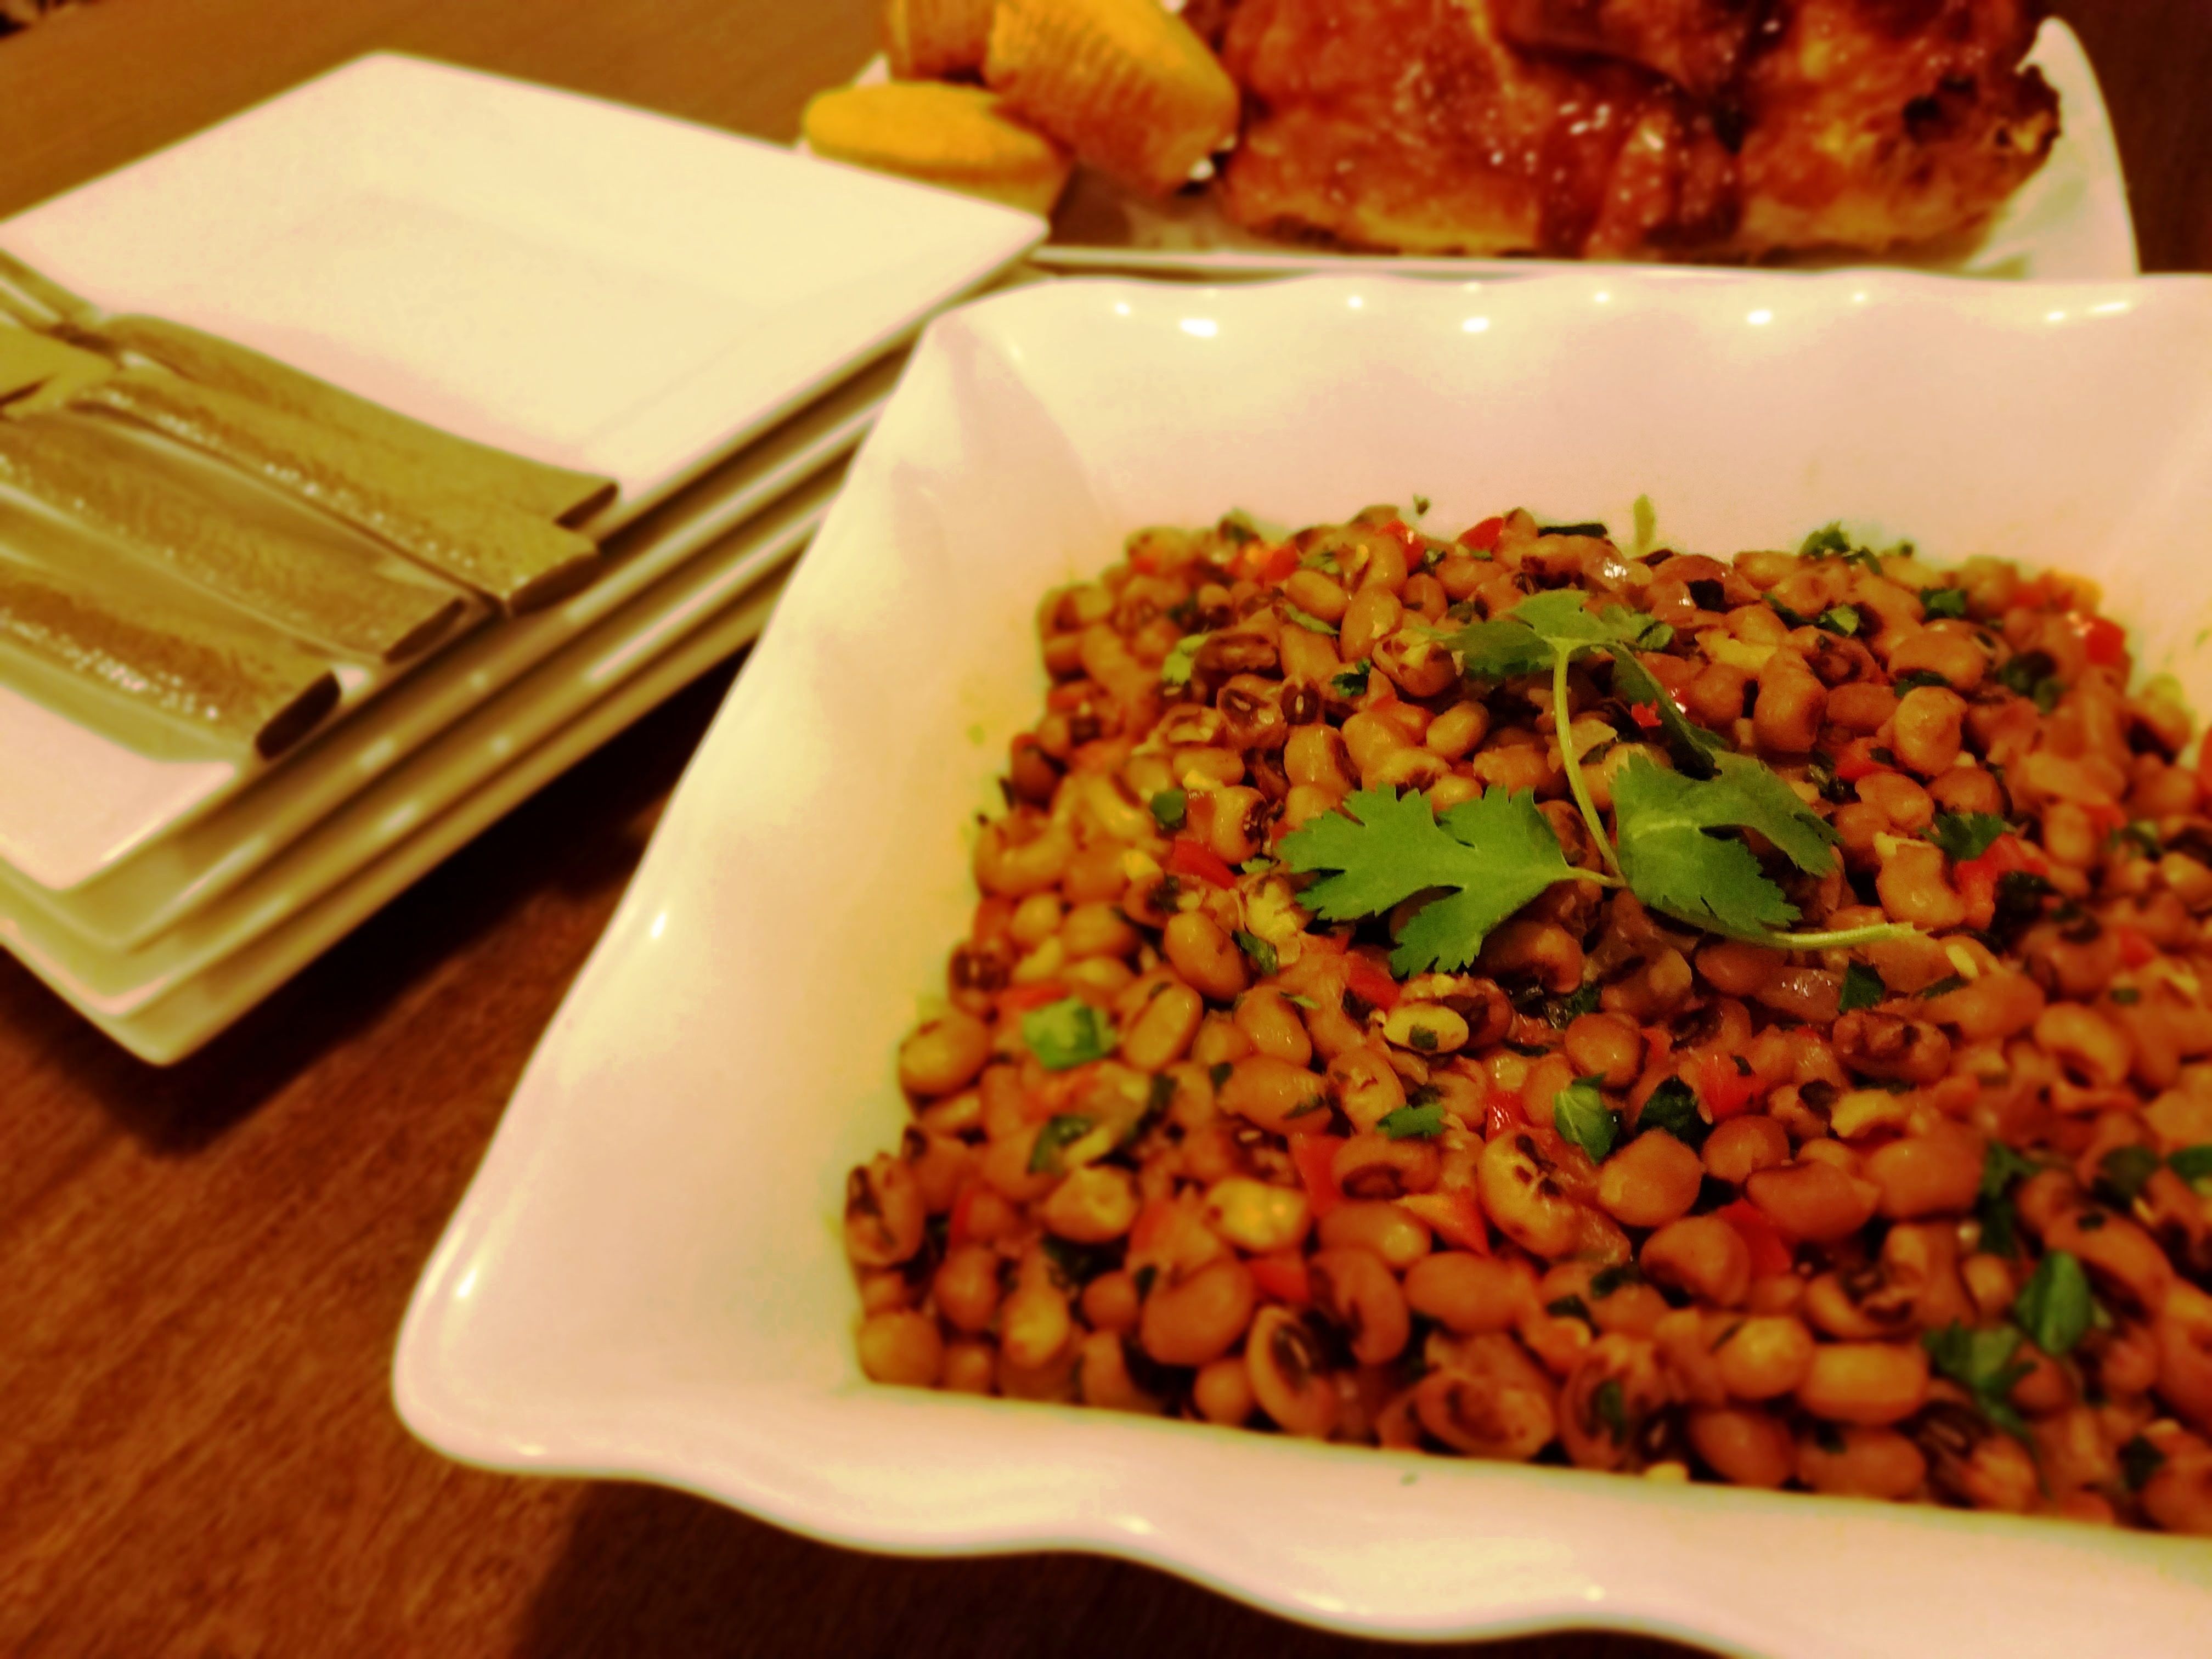
The folks at Ralphs have shared an easy recipe to help you make your turkey moist and delicious. There are so many other great recipes on their site as well. Make sure to visit them at https://www.ralphs.com/recipes and see what’s there. Have a Happy Thanksgiving my foodie friends. [Note: this is not a sponsored post]
Easy Thanksgiving Turkey

Recipe courtesy of Ralphs.
Ingredients
1 turkey (14 lbs.)
½ cup unsalted butter, softened
1 clove garlic, peeled and minced
5 cloves garlic, peeled and whole
1 small onion, cut in quarters
salt
ground black pepper
1 poultry bundle (thyme, rosemary, sage, oregano, parsley)
Directions
- Preheat oven to 325°F.
- Rinse turkey and pat dry.
- Combine butter, 1 minced clove garlic, 1 teaspoon salt, and ½ teaspoon pepper. Carefully spread the butter mixture between the skin and meat of the turkey, trying not to tear the skin. Sprinkle outside of the turkey and the cavity with additional salt and pepper.
- Stuff turkey cavity with onion, garlic cloves and poultry bundle.
- Truss the legs and place the turkey in a roasting pan.
- Roast for about 3 hours, basting with pan juices every 30 minutes. Cook until the internal temperature is about 170°F when thermometer is inserted into the meaty part of the breast.
- Remove from oven. Rest for 15-20 minutes before carving.