A beautiful and delicious yellow split pea soup made with Back Burner Vegetable Broth.
I know I’ve been missing in action. I am in culinary school and it is very time consuming.
Yup, it’s remote and we do all of our culinary lectures and labs at home.
The very cool thing about being in school is having access to experienced culinary professionals and the ability to ask them questions my inquiring mind has always wanted to know such as:
“Why do the commercial vegetable broths I’ve purchased in the market taste odd, have a brassy top note and an unpleasant after taste?”
Geepers! Just saying this makes my nose wrinkle.
The answer: the abundant use of celery in these broths which is just full of chlorophyll, the compound that gives plants their green pigmentation and the compound my palate obviously doesn’t like as a primary ingredient in a broth.
Chlorophyll is the natural compound present in green plants that gives them their color. It helps plants to absorb energy from the sun as they undergo the process of photosynthesis. This nutrient is present in green vegetables and other plant-based foods, like algae. The greener the vegetable is, the higher its chlorophyll content.
https://www.webmd.com/diet/health-benefits-chlorophyll#1
Well, I can change that now that I understand what it is I like and don’t like.
So I did, and this vegetable broth is glorious and so good.
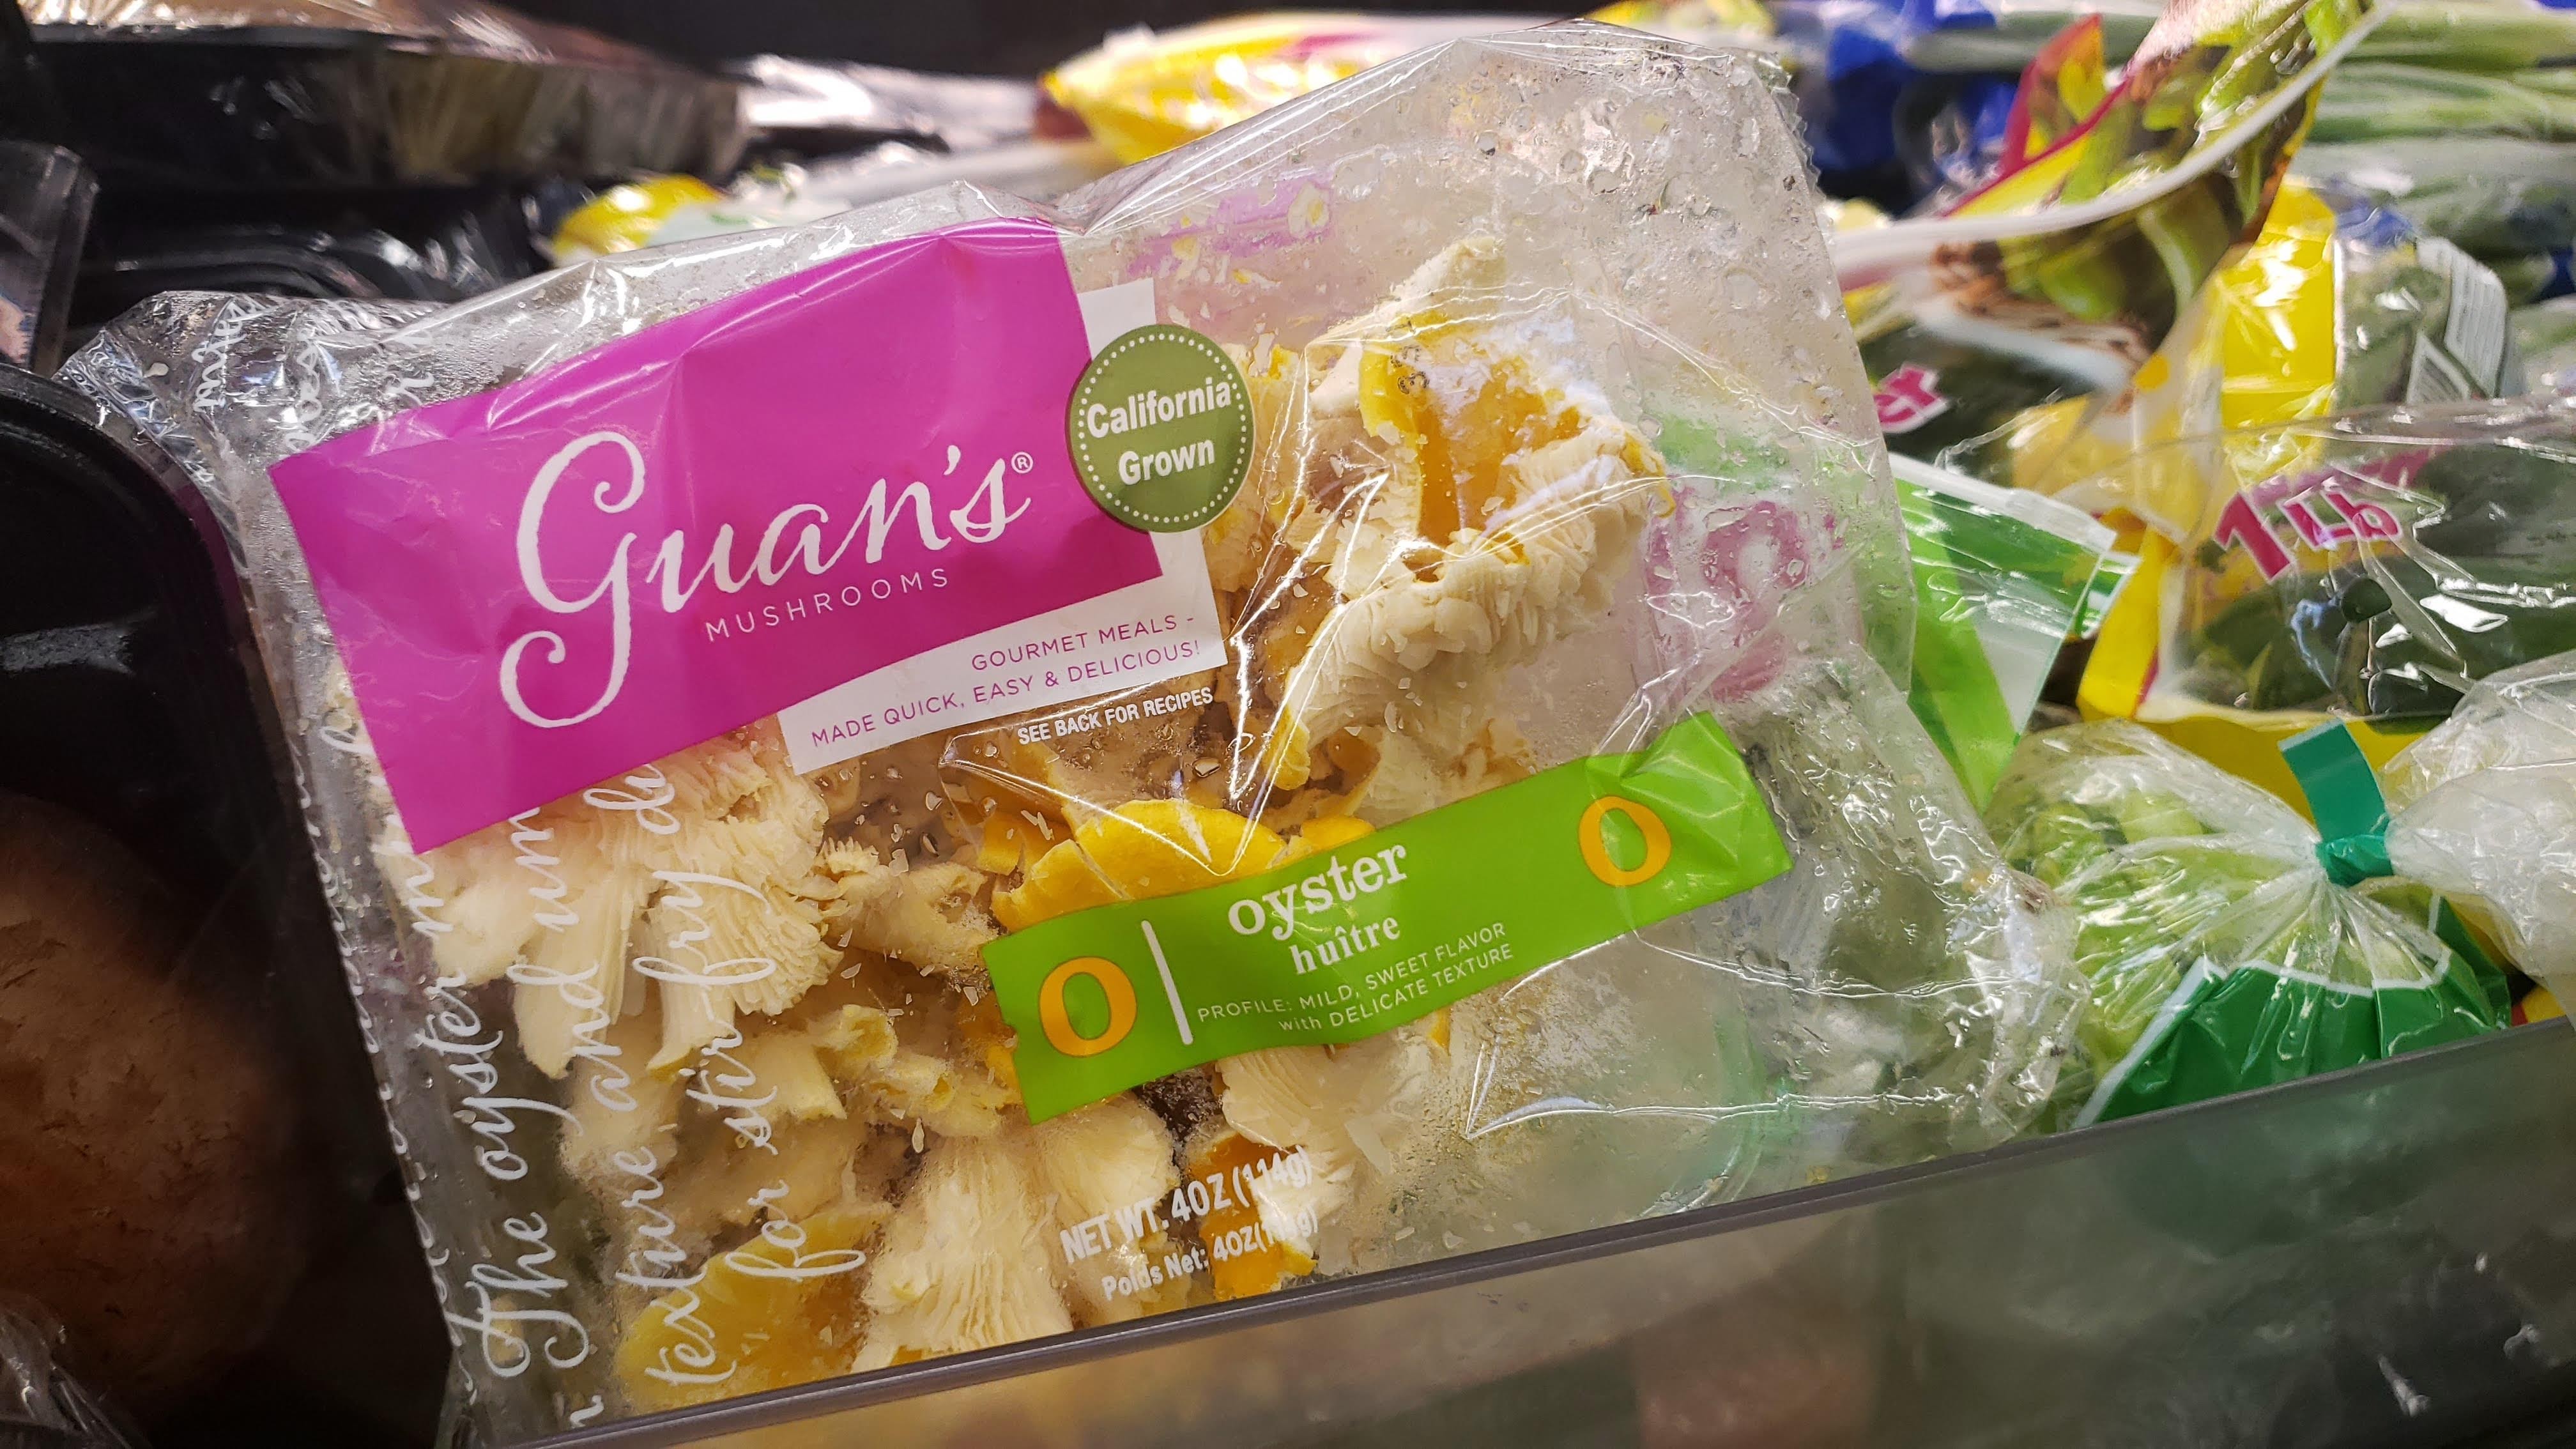
The base is composed of shitake and oyster mushrooms I scored from my local 99Cent Store.


The aromatics include the modest use of celery and other stuff to make it tasty. For this recipe I did sauté the aromatics in a little clarified butter to impart some depth and richness in the broth. However, if you are pledged to veganism, use a good extra virgin olive oil instead. This is an important tip: a little bit of sugar helps to round out the pungency from the herbs so make sure to use it.
This recipe makes about 6 cups of broth after it simmers down and is strained. I want you to note that it does take a little work, time and patience – so commit to the process because it is so worth it.

Back Burner Vegetable Broth simmering on stovetop.
What can you use this broth for? It’s great as a base for soups, stews, gravies or whatever recipe that requires broth. The color is marvelous and the taste is velvety and balanced.
I used this stock recipe to make a pot of yellow split pea soup from the peas I also scored at the 99Cent store. Here’s a little-known fact about me: I make a pot of legumes every week which I lovingly call “soupe de la semaine” or soup of the week.
When making this broth you will need roughly 3 to 4 hours from start to finish – so plan accordingly, enjoy the journey and the fruits ( or should I say vegetables) of your labor.

Top: vegetable remnants of broth. Bottom: strained Back Burner Vegetable Broth.
Back Burner Vegetable Broth

A delicious, homemade vegetable stock.
Ingredients
4 ounces shitake mushrooms
4 ounces oyster mushrooms
1 medium red onion, large diced
2 shallots, rough chopped
3 celery stalks, cut in half
3 medium carrots, peeled and cut in half
6 garlic cloves, peeled and rough chopped
2 bay leaves
2 fresh thyme sprigs
2 fresh oregano sprigs
1 rosemary sprig
1/2 teaspoon pepper corns
1 teaspoon salt
1 teaspoon sugar
2 tablespoons butter or extra virgin olive oil
8 cups cold water
Directions
To a large stock pot, add carrots, celery and mushrooms. Set aside.
Heat a large skillet on a stovetop set on medium heat.
Once the skillet is hot, add butter or olive oil.
When oil is hot, add onions, shallots and sauté, stirring frequently, until translucent, about 10 minutes.
Add garlic, bay leaves, thyme sprigs, oregano sprigs and rosemary and sauté until fragrant, about 30 seconds.
Remove from heat and add contents of skillet to the stock pot.
Add salt, sugar, peppercorns and 8 cups of water.
Bring to a boil, cover and simmer on low heat for 1 hour and 30 minutes.
When done, strain the broth through a mesh strainer into a separate heat resistant container.
Broth is ready to use or can be stored in the refrigerator for one week, or frozen for up to 6 months.